
Updating Kenmore Central Vacuum Inlets
If you have an older built-in vacuum system, you may be prevented from upgrading your attachment set if a newer, “industry standard” hose will not fit into or activate your wall inlet valves.
You can read about various older, non-industry standard wall inlets used through the years here. If the tubing size was the same or larger than modern wall inlets, and especially if the screw spacing of the mounting plate lines up, then modern wall inlets can be adapted without too much trouble. But what can be done if the old inlets and tubing are smaller than modern inlets? New inlets simply won’t fit, and you can’t just “get a bigger hammer” as my grandfather would say.
This is a common dilemma with Kenmore central vacuum systems, which have existed since the early 1960s, and used a small, non-standard tubing system until the 1980s. Here’s an old Kenmore wall inlet:

This is one of the earliest types, that required manually activating the power unit. Since the unit was being replaced with a modern machine, the inlets needed to be changed. First, let’s remove the two screws and take off the old plate, taking care not to damage the paint:

This particular inlet is installed on a paneled wall, but the process for a more typical sheetrock wall is the same. First, we’ll enlarge the opening to a rectangle the size of the new inlet mounting plate, about 4 1/2” tall by 2 1/2” wide. Then we’ll need to dismantle the old metal mounting plate, leaving only the flanged 90 degree elbow. If the plate is attached to a stud (indicating the system was installed during construction), some careful work with a reciprocating saw is usually the best way to remove it. And no, that’s not an oxymoron. Keep your tool under control.
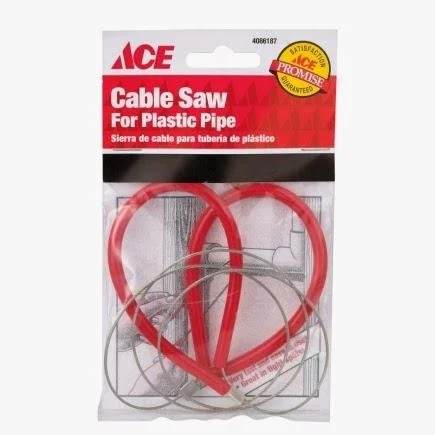
Now, the flanged 90 degree elbow needs to be removed. The best tool to cut the pipe off where it meets the elbow, without damaging either side of the wall, is a cable saw, available in the plumbing department of your local hardware store:
It’s likely the pipe will have some up-and-down play in it, so take care not to dislodge a fitting downstream. If you are able to move the pipe to cut it off past the elbow, all the better. Of course, it’s important to make a nice square cut and remove any burrs with a utility knife, sandpaper, or a deburring tool.
Once you have the end of the old pipe prepared, you can cement on, in succession, an adaptor, a short (1 1/2”) section of 2” vacuum pipe, a tight 90 degree elbow, and an inlet mounting plate. It’s likely some curse words will be involved in this process, especially if this is the first one you’re doing. When finished, you’ll have something that looks like this:

In the picture above, the low voltage wire has already been stripped and bent to fit around the screws of the new wall inlet. We are using the VacuValve inlet, which is large enough to cover any paint lines from the old inlet, plus attractive and durable. The finished product is shown below:

This inlet is now complete, ready to accept any standard non-electric, low-voltage, or pigtail central vacuum hose. Along with the replacement power unit, these changes brought new life to a decades-old central vacuum system!